What Algebra is All About....In our Algebra class, we will be learning about slopes, how to solve equations, inequalities, absolute values, and more. We will learn how to train our computers to do algebra, understand why things in math are done as they are, etc. We also will be learning advanced math, since it is an advance placement class for seventh graders, which has me excited!
|
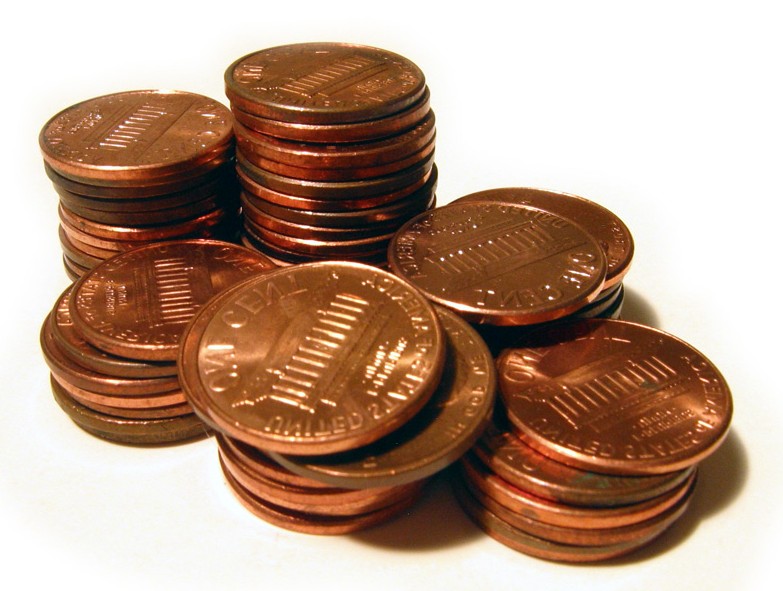
A Box of Pennies Project
Click for larger image.
This is our Pennies Project for Algebra. The problem for this is there is a pennies for patients box, and it is filled with pennies. How many are in that box, if you only know the dimensions, and the volume? What would you do to take a good estimate of how many pennies there are? How much does it weigh?
What I did for this project was multiply the dimensions of the box, and the expression turned out like this: 17.5*13.5*5 = 3024 cm. The volume of the box is 3024 cm, and then I divided it by the volume of the penny, since pennies take up space, and we need to find the number there are. So, I divided 3024 by 0.36, which gave me 8,400 pennies in the box. Now, we have to find the weight of the box. So, we just multiply the number of pennies, by the mass of a penny, which the answer was 51.8 pounds. This gave us the weight and number of pennies of the box, but it is also inaccurate, because we can't be sure about the pennies' weights, because there are two different ones, which I averaged to use to calculate the weight of the filled penny box.
This was a pretty easy project, but it helped me ensure my knowledge of doing this sort of stuff, and I know how to show that things are inaccurate, because of various reasons. This penny project was nice to do, because we were able to take a very educated guess at something, and it was actually very easy to do the educated guess, because of doing this project.
The Box of Pennies Project relates to the Shrinking Dollar project, the one below, because they both deal with the same sort of details, and ways to use in real life. I really liked this project, and I'd like to do more projects like this later on in the algebra school year.
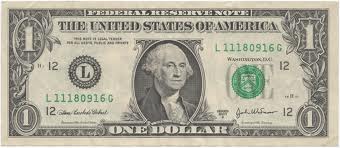
Shrinking Dollar Project
Click for larger image.
For another Algebra project, we were told a story about a boy named Dan. Dan wanted to shrink his dollar. He put it in his Xerox machine, and he shrunk it 9 times by 75%, but it would take too long to find out what the shrunken dollar's width and length would be. So, here comes our job. Using our knowledge of algebra, how can we solve this problem, and how will we know what the shrunken dollar's width and length would be.
What I did was put 0.75^9(156), because you are shrinking the dollar 9 times, and the width of the dollar is 156 cm. Once we multiply it out, we get 11.7 cm as the width of the shrunken dollar. Then, we take that equation, and put in the length of the dollar instead of the width, leaving us with the expression, 0.75^9(66). Once again, we multiply the equation out, and we get 4.95. This gives us both the width and the height of the shrunken dollar. If we wanted to, we could instead of 9, go continuously towards the 9 as the exponent, to see how it shrinks over time.
This was a nice project to do, because it challenged our newly learned knowledge about exponents, and how to use the order of operations correctly. This was pretty easy for me, because I already knew how to deal with exponents, but not that much when using it for daily life things. I liked doing this project, and I hope we do more in the future that are just like this.
The Shrinking Dollar Project relates to my pennies project, the one above. For both, we get daily life situations, and we have to use our algebra skills to help us solve the problem.
Prop Project

For a math project, we had to take an object, and put it next to an action figure. Then, we had to measure how long the action figure was, how high the object went up to it, and measure ourselves. Why would we measure ourselves? Well, we had to divide the height of us, by the action figure, and find the rate of change. For our project, our rate of change was 4.95. Then, we had to multiply that by the height of the object, and that would be how big we have to make another object to the size of us!
For our prop project, Neil, another algebra student, and I built a Nintendo DS. Building the DS was really fun, but hard to do. We took all the measurements of the DS, and then multiplied it by the rate to get the prop's height. We learned how to use the math tool of proportions to help us do this, and I think that it was a really effective project for us.
One thing that I liked about this project, is that we really had to work towards it. It was nice to do this project, and it really challenged my algebra skills, and to me, this relates to building, and construction. Not only was this prop 3D, but we had to build it ourselves, with the help of our algebra brains. We also made our DS able to open and close. This prop project was really fun, and I think that this was a great way to help us learn!
Computer to Calculator

Click for larger image.
For this math project, we had to teach our computer how to do algebra. It isn't possible you say? But in fact it is! We taught our computer how to do algebra by using a spreadsheet. We had to train it how to be a calculator, and do equations and regular problems.
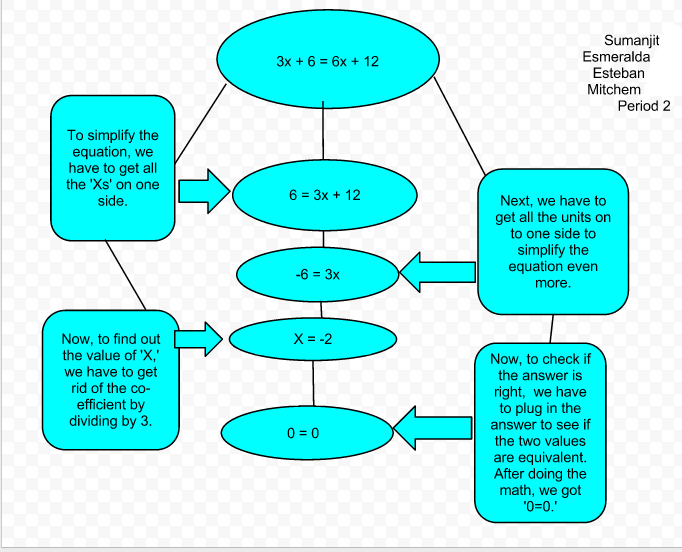
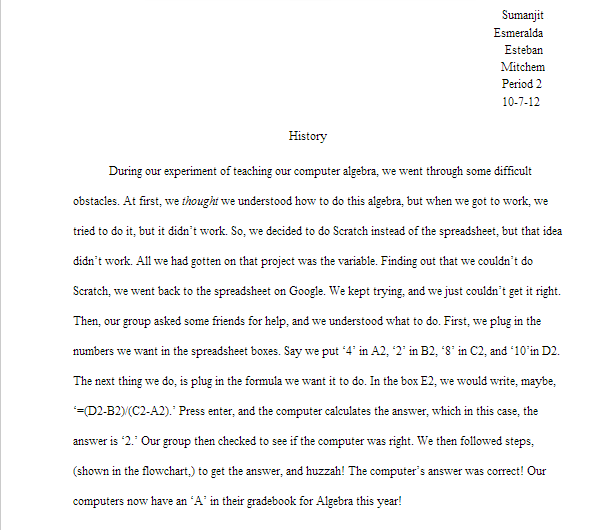
We did this lovely and educational project so we can fully understand how to do equations. Our group learned so much by doing this project. We found out how to program a computer, how to solve for X, and to persevere. The programming was difficult, because we didn't know how to do it at all, but we persevered, and tried again and then it worked! We solved for X by putting a formula into the box on the picture that is G1. The formula we had put in to solve for X was '(F3-C3)/(D3-A3)', and we pressed enter, and the correct answer showed up. To solve a real equation problem, we made a flowchart that shows how to solve for 'X.' The flowchart is shown below. The history of how we did this project is shown underneath the flowchart.
We did this lovely and educational project so we can fully understand how to do equations. Our group learned so much by doing this project. We found out how to program a computer, how to solve for X, and to persevere. The programming was difficult, because we didn't know how to do it at all, but we persevered, and tried again and then it worked! We solved for X by putting a formula into the box on the picture that is G1. The formula we had put in to solve for X was '(F3-C3)/(D3-A3)', and we pressed enter, and the correct answer showed up. To solve a real equation problem, we made a flowchart that shows how to solve for 'X.' The flowchart is shown below. The history of how we did this project is shown underneath the flowchart.
 Click for larger image.
|
Flow ChartThis is the flow chart that our group made using Google Documents. It explains how to solve an equation to get to 'X.' First, you must simplify the equation, by getting all the 'X' units on one side. The way you do that, is you do the opposite of what the real equation is to each side of the equation shown. Next, you do that same thing with the units, or regular number shown. Then, finally to get to 'X,' you have to divide whatever number is by the 'X,' the co-efficient, on each side. This is how you solve for 'X' in an equation.
|
Click for larger image.
